Please note: This blog post contains affiliate links, which help pay for the upkeep of this site. That being said, I will never, ever promote anything I am not 100% in love with!
----------
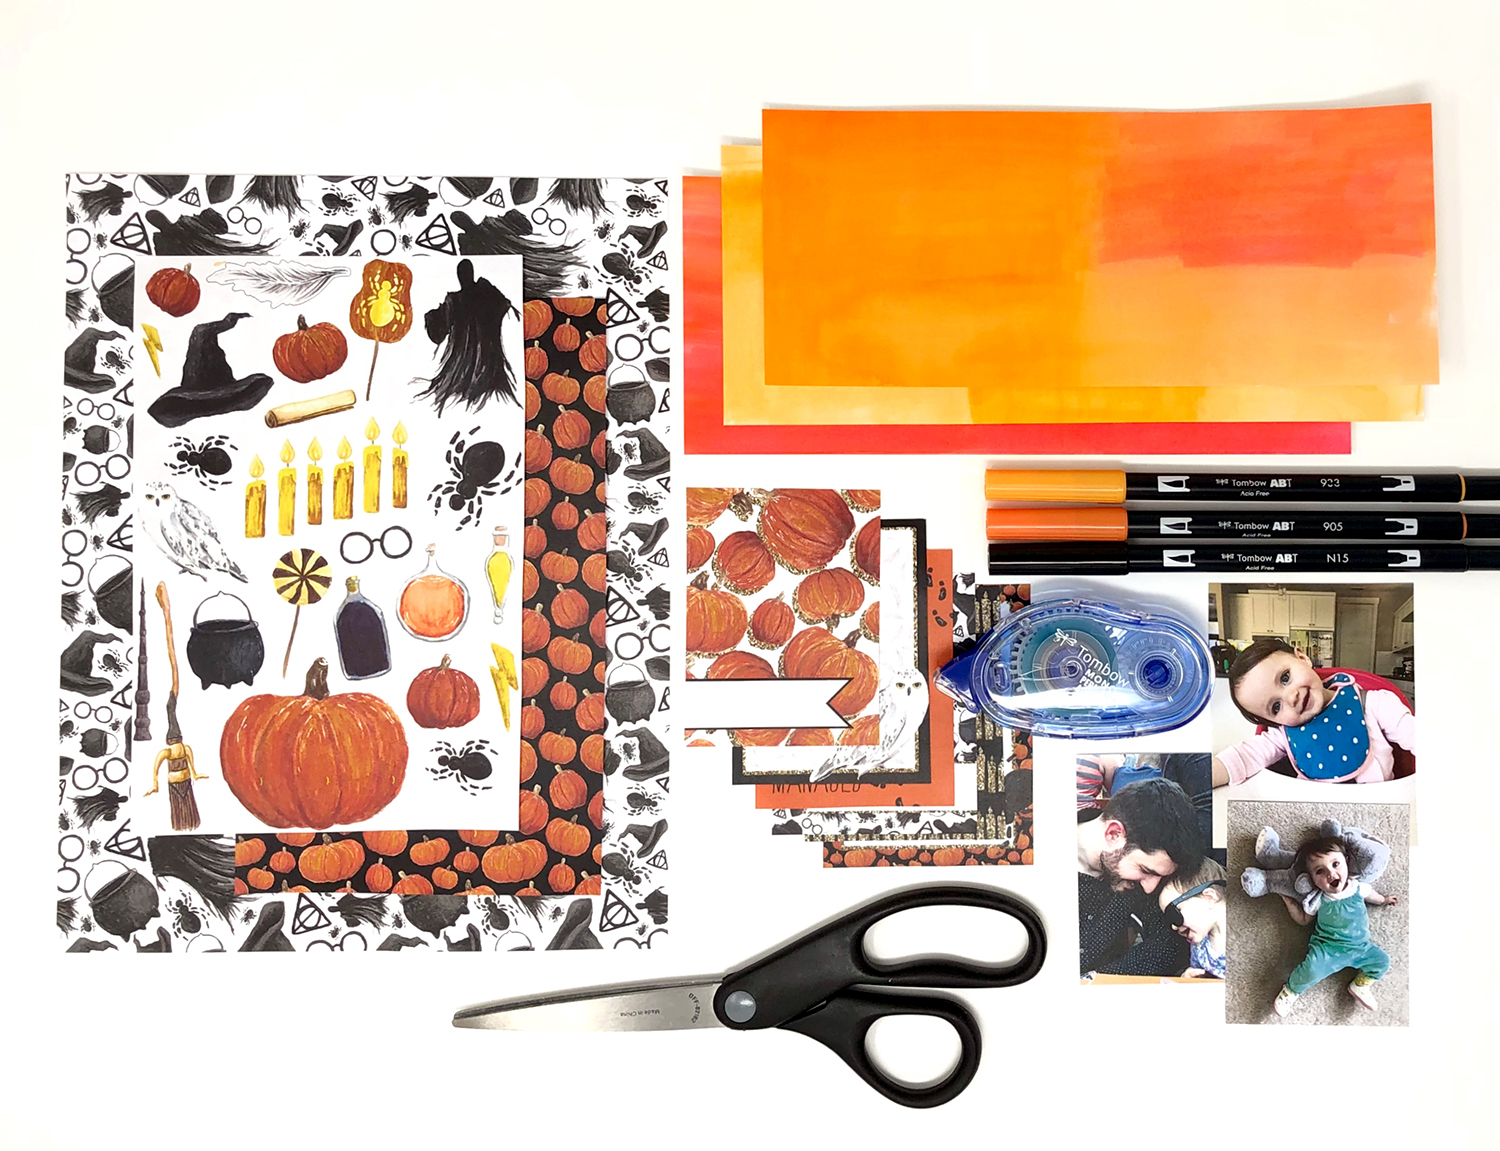
This week I’m going to show you how to make this cute folding Halloween card, perfect for sending to the grandparents! To start, gather your supplies and then read through the steps below!
Supplies:
Card or watercolor paper
Scissors
Photos
Step 1: Cut Everything Out
First, cut out your photos and decorative elements like spiders, pumpkins, and lightning bolts. Next, glue your strips of card together to make one long strip, and fold it into even sections, working backward and forwards so you get a concertina effect. Color your card using Dual Brush Pens, leave it white or use card that is already colored.
Step 2: Stick Everything Down
Move your cut-out elements around until you're happy with the placement of them, then use your Mono Adhesive Permanent roller to stick everything to the card backing. Add on some decorative elements, maybe a spider or two, a hat, or wand. Create a few finishing touches with your Dual Brush Pen and you're ready to send your cute, folding Halloween card!
I’d love to see your finished card, tag @BrownPaperBunny on social media! And let me know in the comments if you dress up for Halloween!


