Please note: This blog post contains affiliate links, which help pay for the upkeep of this site. That being said, I will never, ever promote anything I am not 100% in love with!
----------
I hate when people tell themselves that they can’t draw. I hear it WAY too often!
So I’m here to tell you that it’s really just breaking objects down into shapes and lines, and today I’m going to show you how to draw a cute little witch so you can make your own Halloween cards!
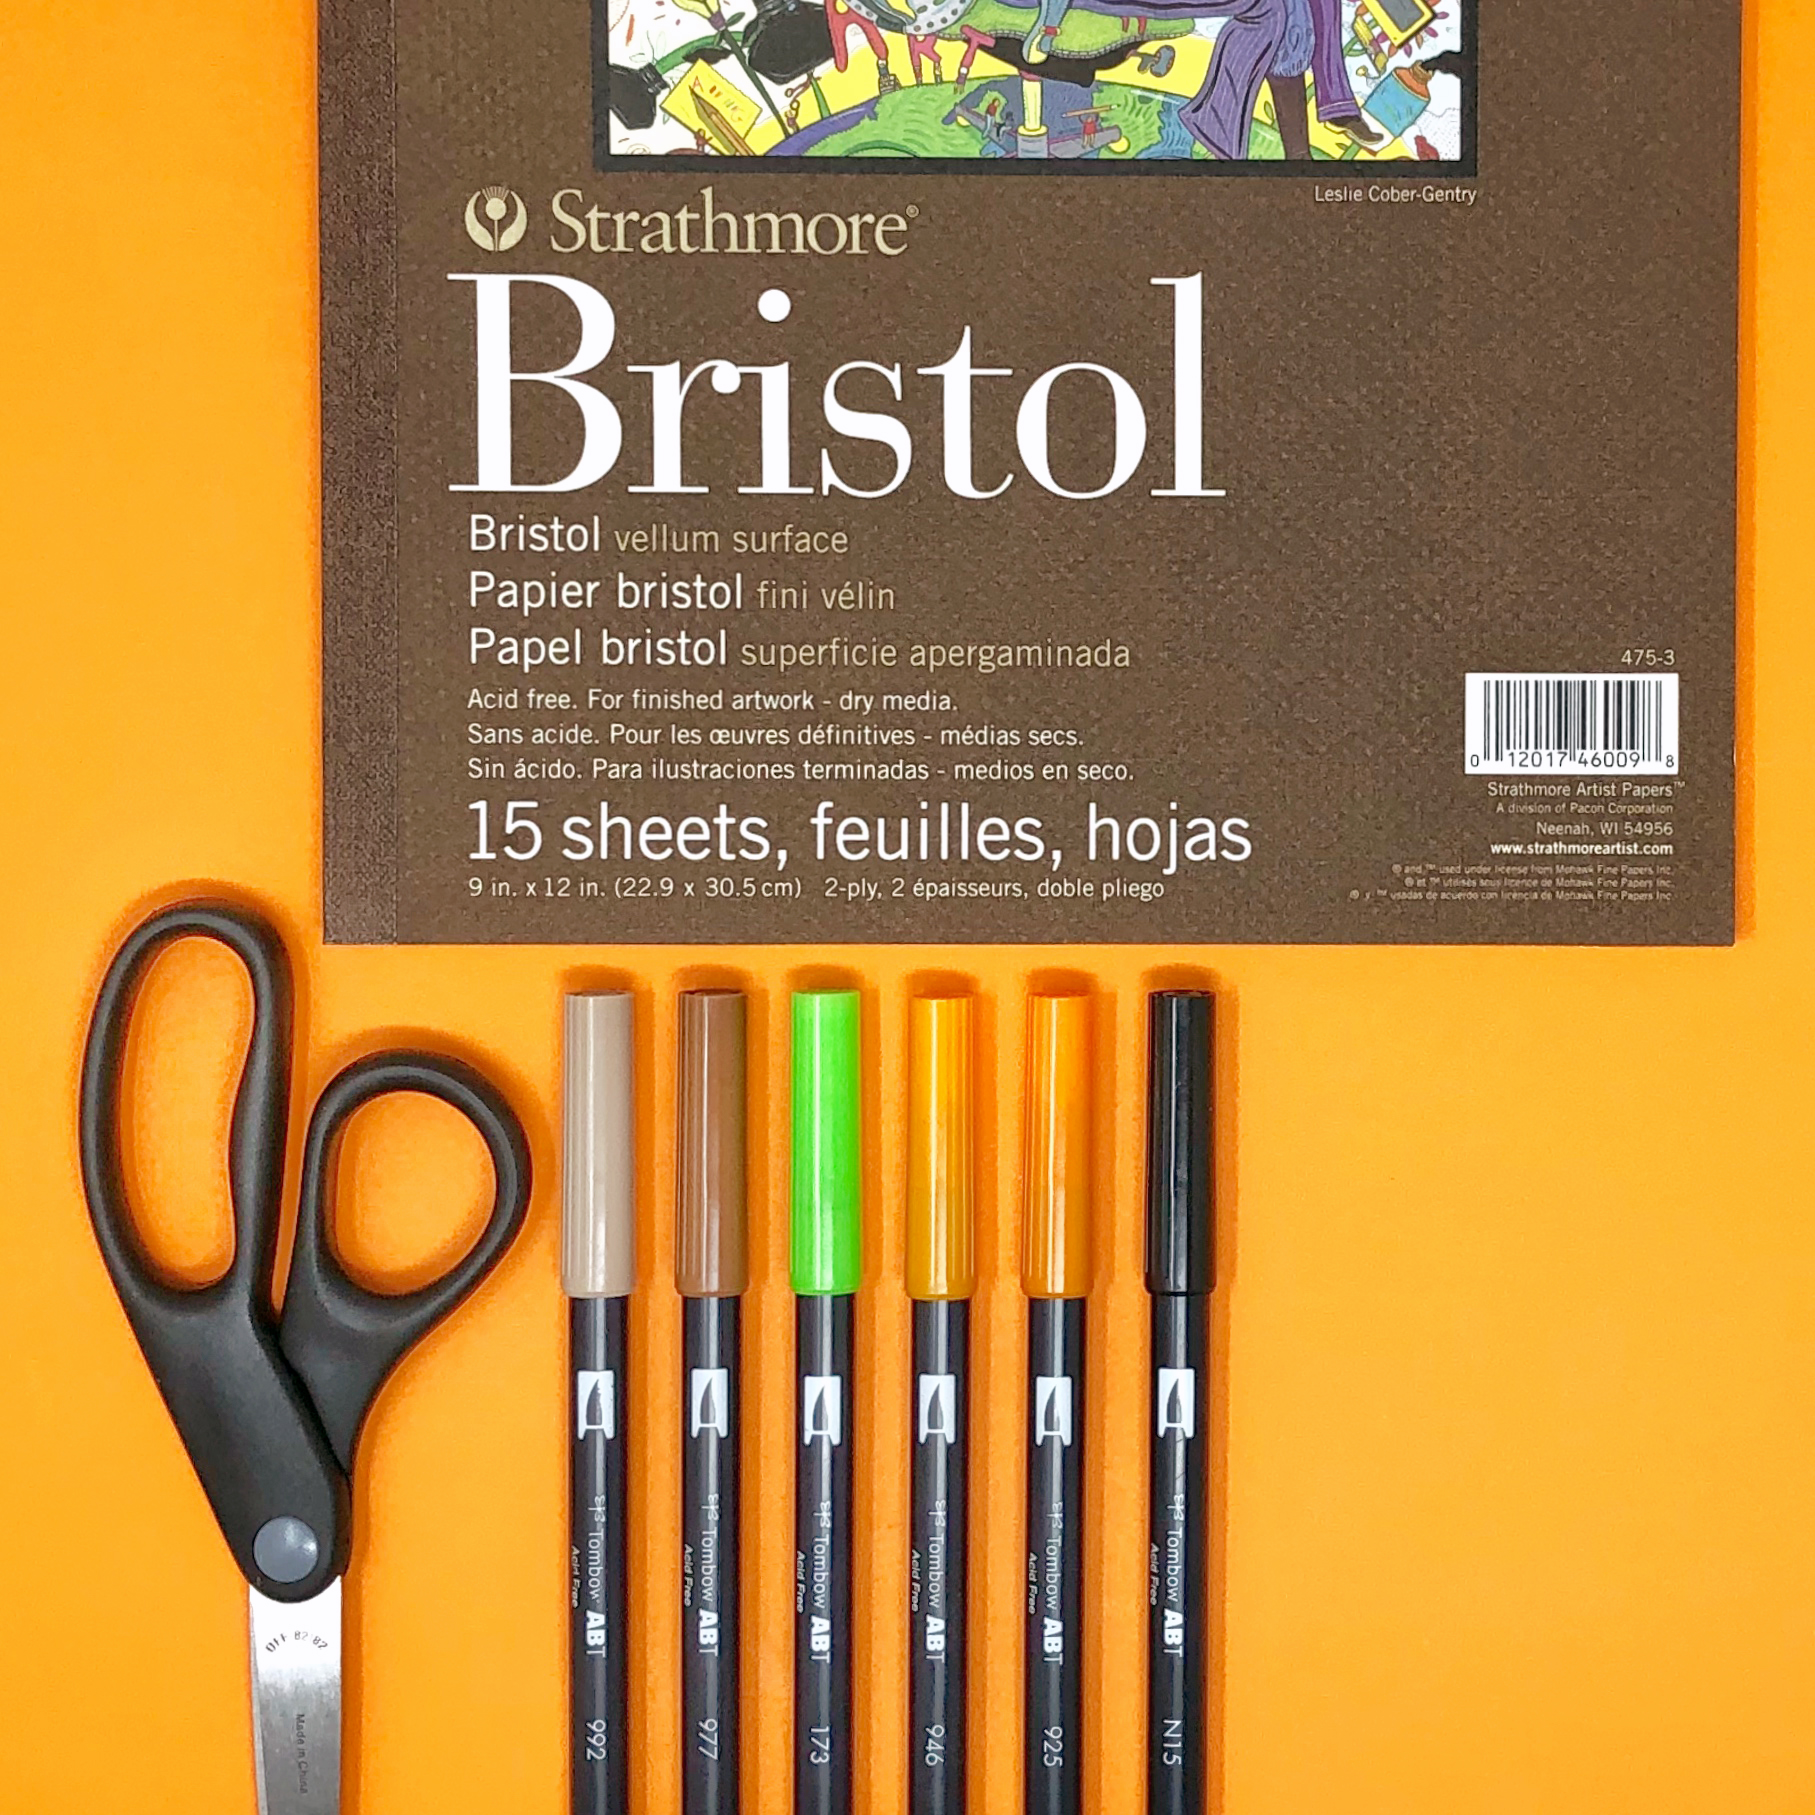
Here’s what you’ll need to get started.
Supplies:
Scissors
Thick card or watercolor paper (I’m using Strathmore Bristol)
Step 1: Draw Your Shapes
To draw your cute little witch start with a circle for her head, a Hershey's Kiss shaped body, and little sausage-shaped arms and legs.
Draw a line for the broomstick and a rounded rectangle for the broom bristles.
Step 2: Add Details
Once you’re happy with the basic shapes starting adding some details. Give her a face, hair and clothes.
Step 3: Add Color
The last step is to color your cute little witch, using your Dual Brush Pens. Add a darker shade anywhere there might be a shadow (under her arm, the brim of her hat etc). Once the ink is dry, cut her out and you’ve got a fun Halloween card! For an extra special touch make your own matching envelopes.
If you make some of your own I’d love to see! Tag @BrownPaperBunny on social media.


