Please note: This blog post contains affiliate links, which help pay for the upkeep of this site. That being said, I will never, ever promote anything I am not 100% in love with!
----------
This week I’m redoing an old watercolor portrait from 2011, using skills and knowledge I’ve learned since then to try and improve upon it.
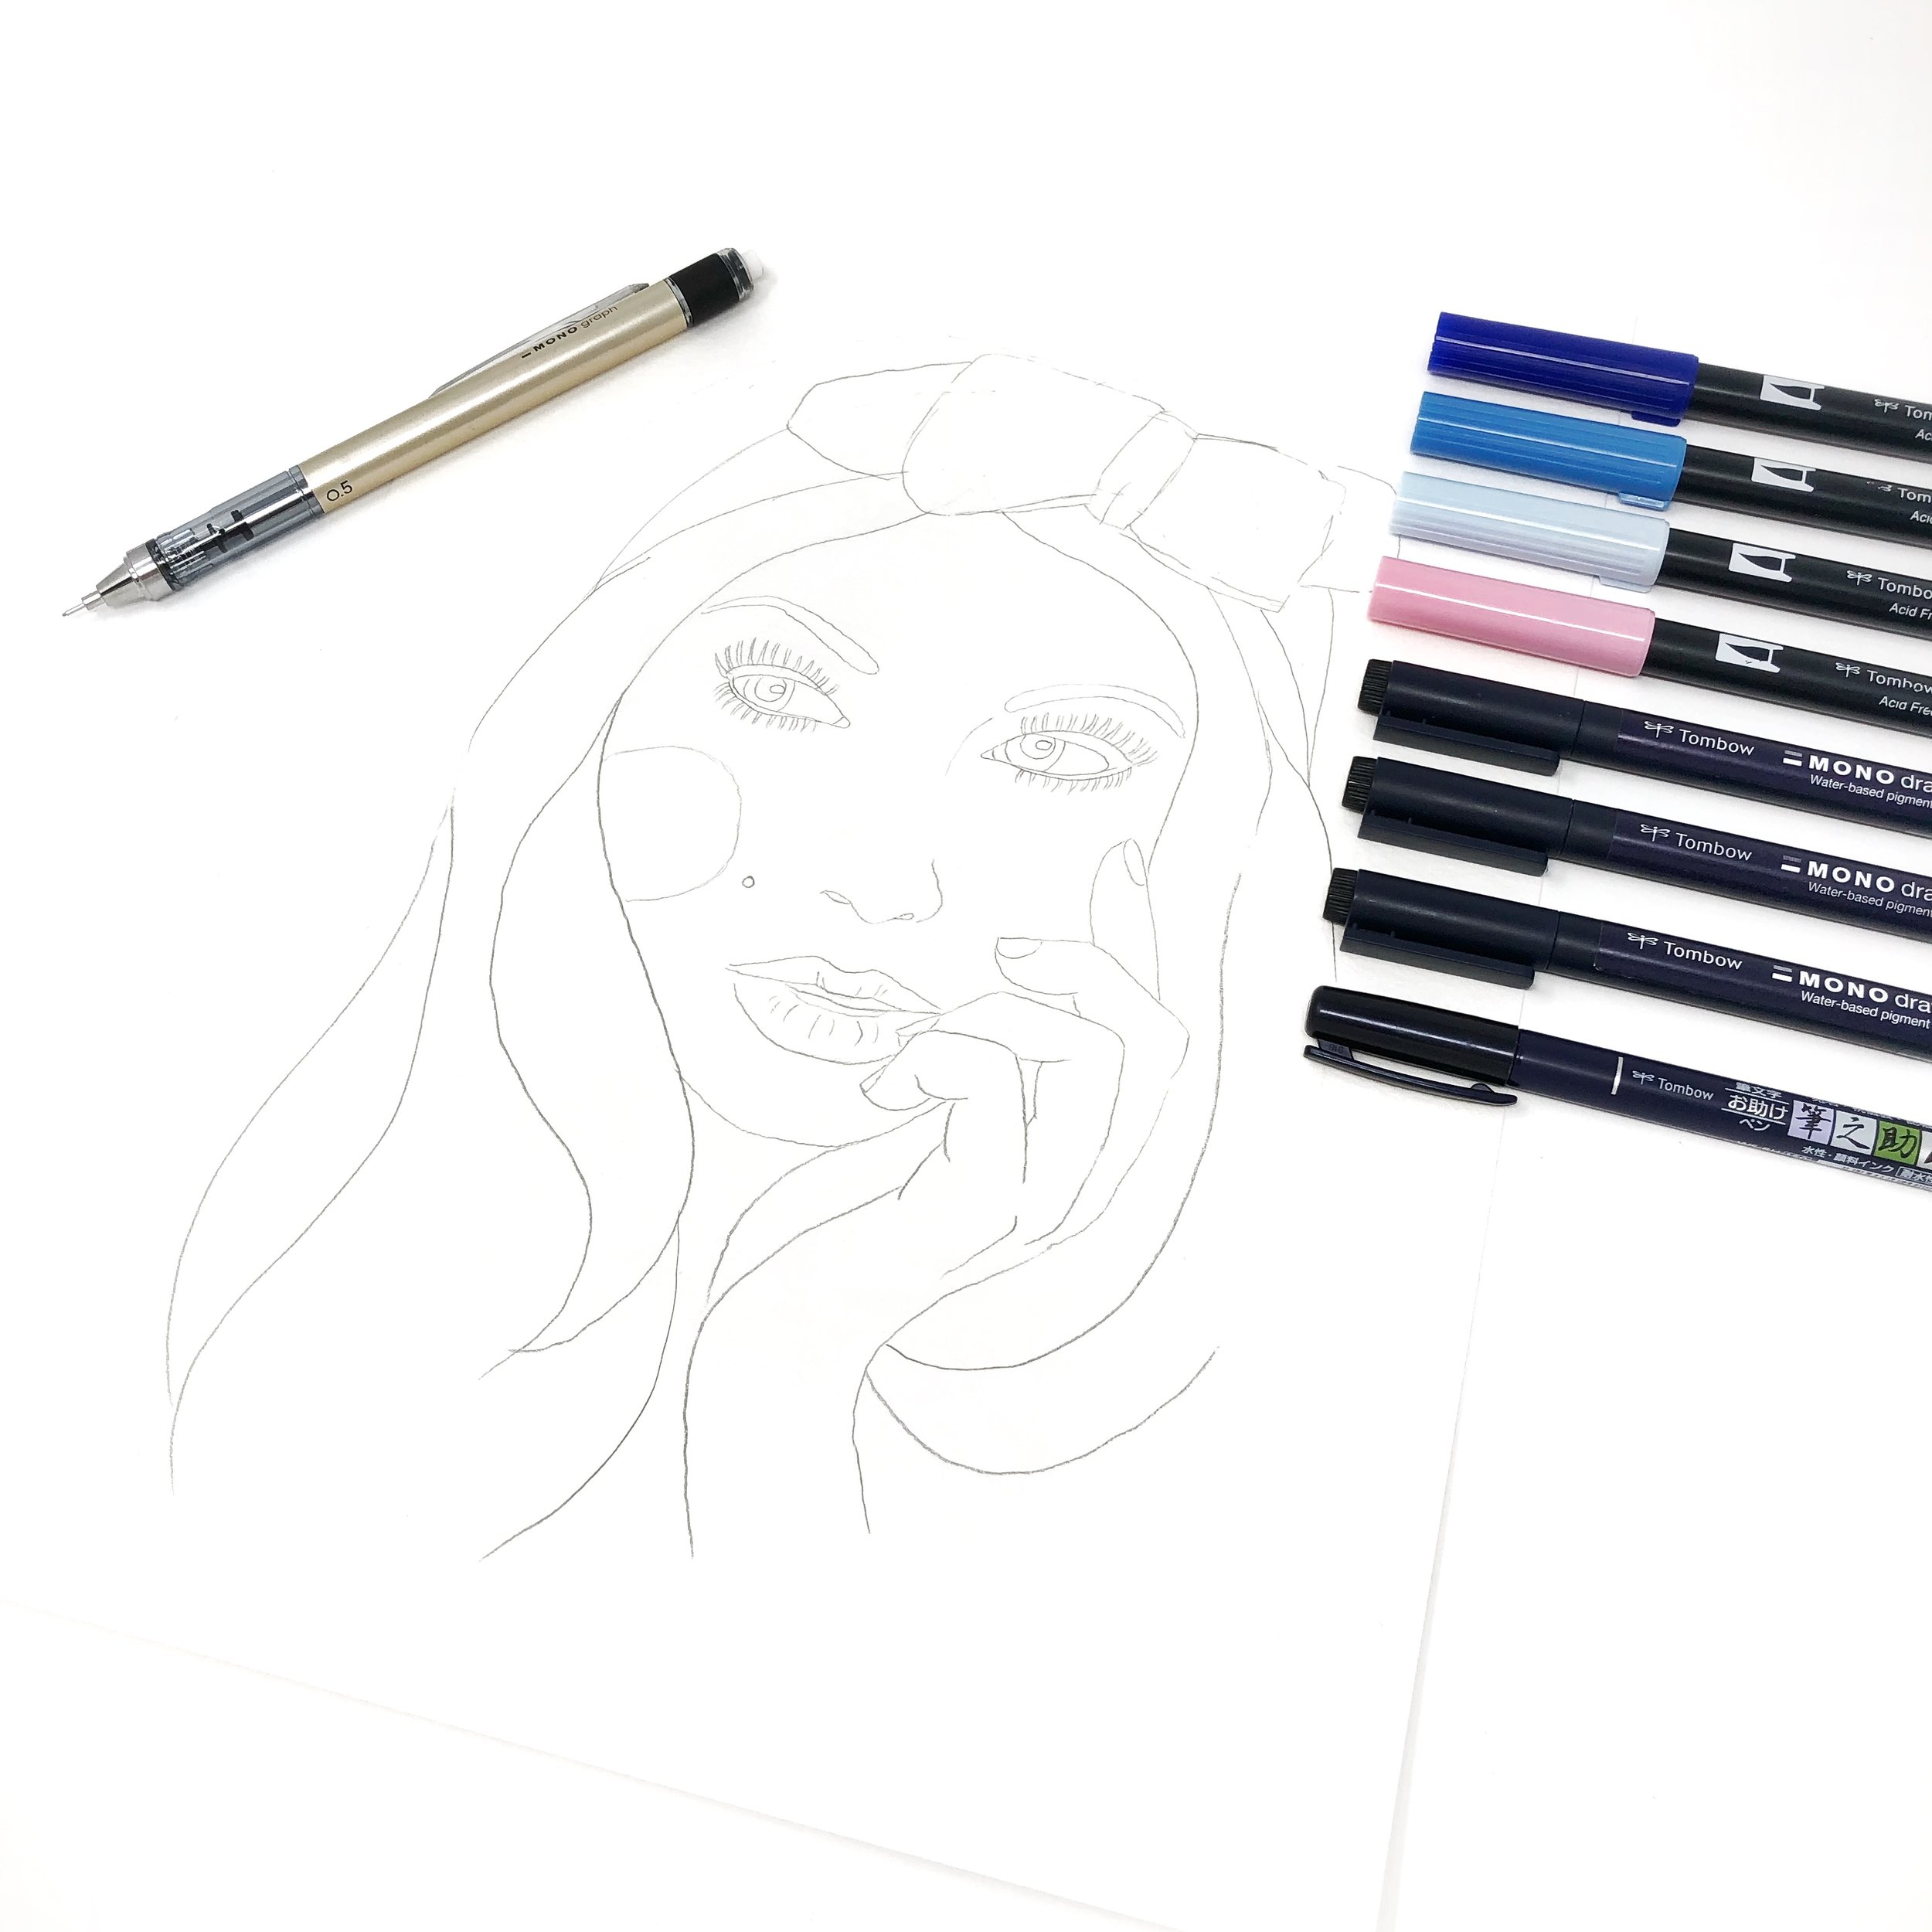
I’ve always loved messy watercolor portraits with ink lines so I wanted to re-do that style. If you’d like to create along with me, here are the materials I’m using:
A few things I’ve learned since creating my 2011 portrait are not to mix too many different colors or everything will get muddy and brown. I’ve also learned that using different line weights gives you more interest. AND I discovered that if you color across the whites of someone’s eyes they look really weird and creepy.
So I’m using a limited color palette, I’ve got my 01, 03, 05 MONO Drawing Pens and Fudenosuke Brush Pen for the line work, and I’m avoiding washes near the eyes.
To start, sketch out your portrait in pencil, then either transfer ink from a Blending Palette with a wet paintbrush (like I did for the cheeks and lips) or use the Dual Brush Pens directly onto the watercolor paper then go back and wet it. I made sure to let the color run together a little, and added some extra water splotches. You can watch each step in the video below.
What do you think, did I improve on my 2011 effort? Have you ever recreated an old project? Or is there one you’d like to re-do? Let me know in the comments!
If you’re new here, I’m Jessica — a watercolor artist and fashion illustrator, living in Seattle. I’d love to connect on social media, come say hi on Instagram, Facebook or Twitter @BrownPaperBunny!
You might also like these blog posts:


