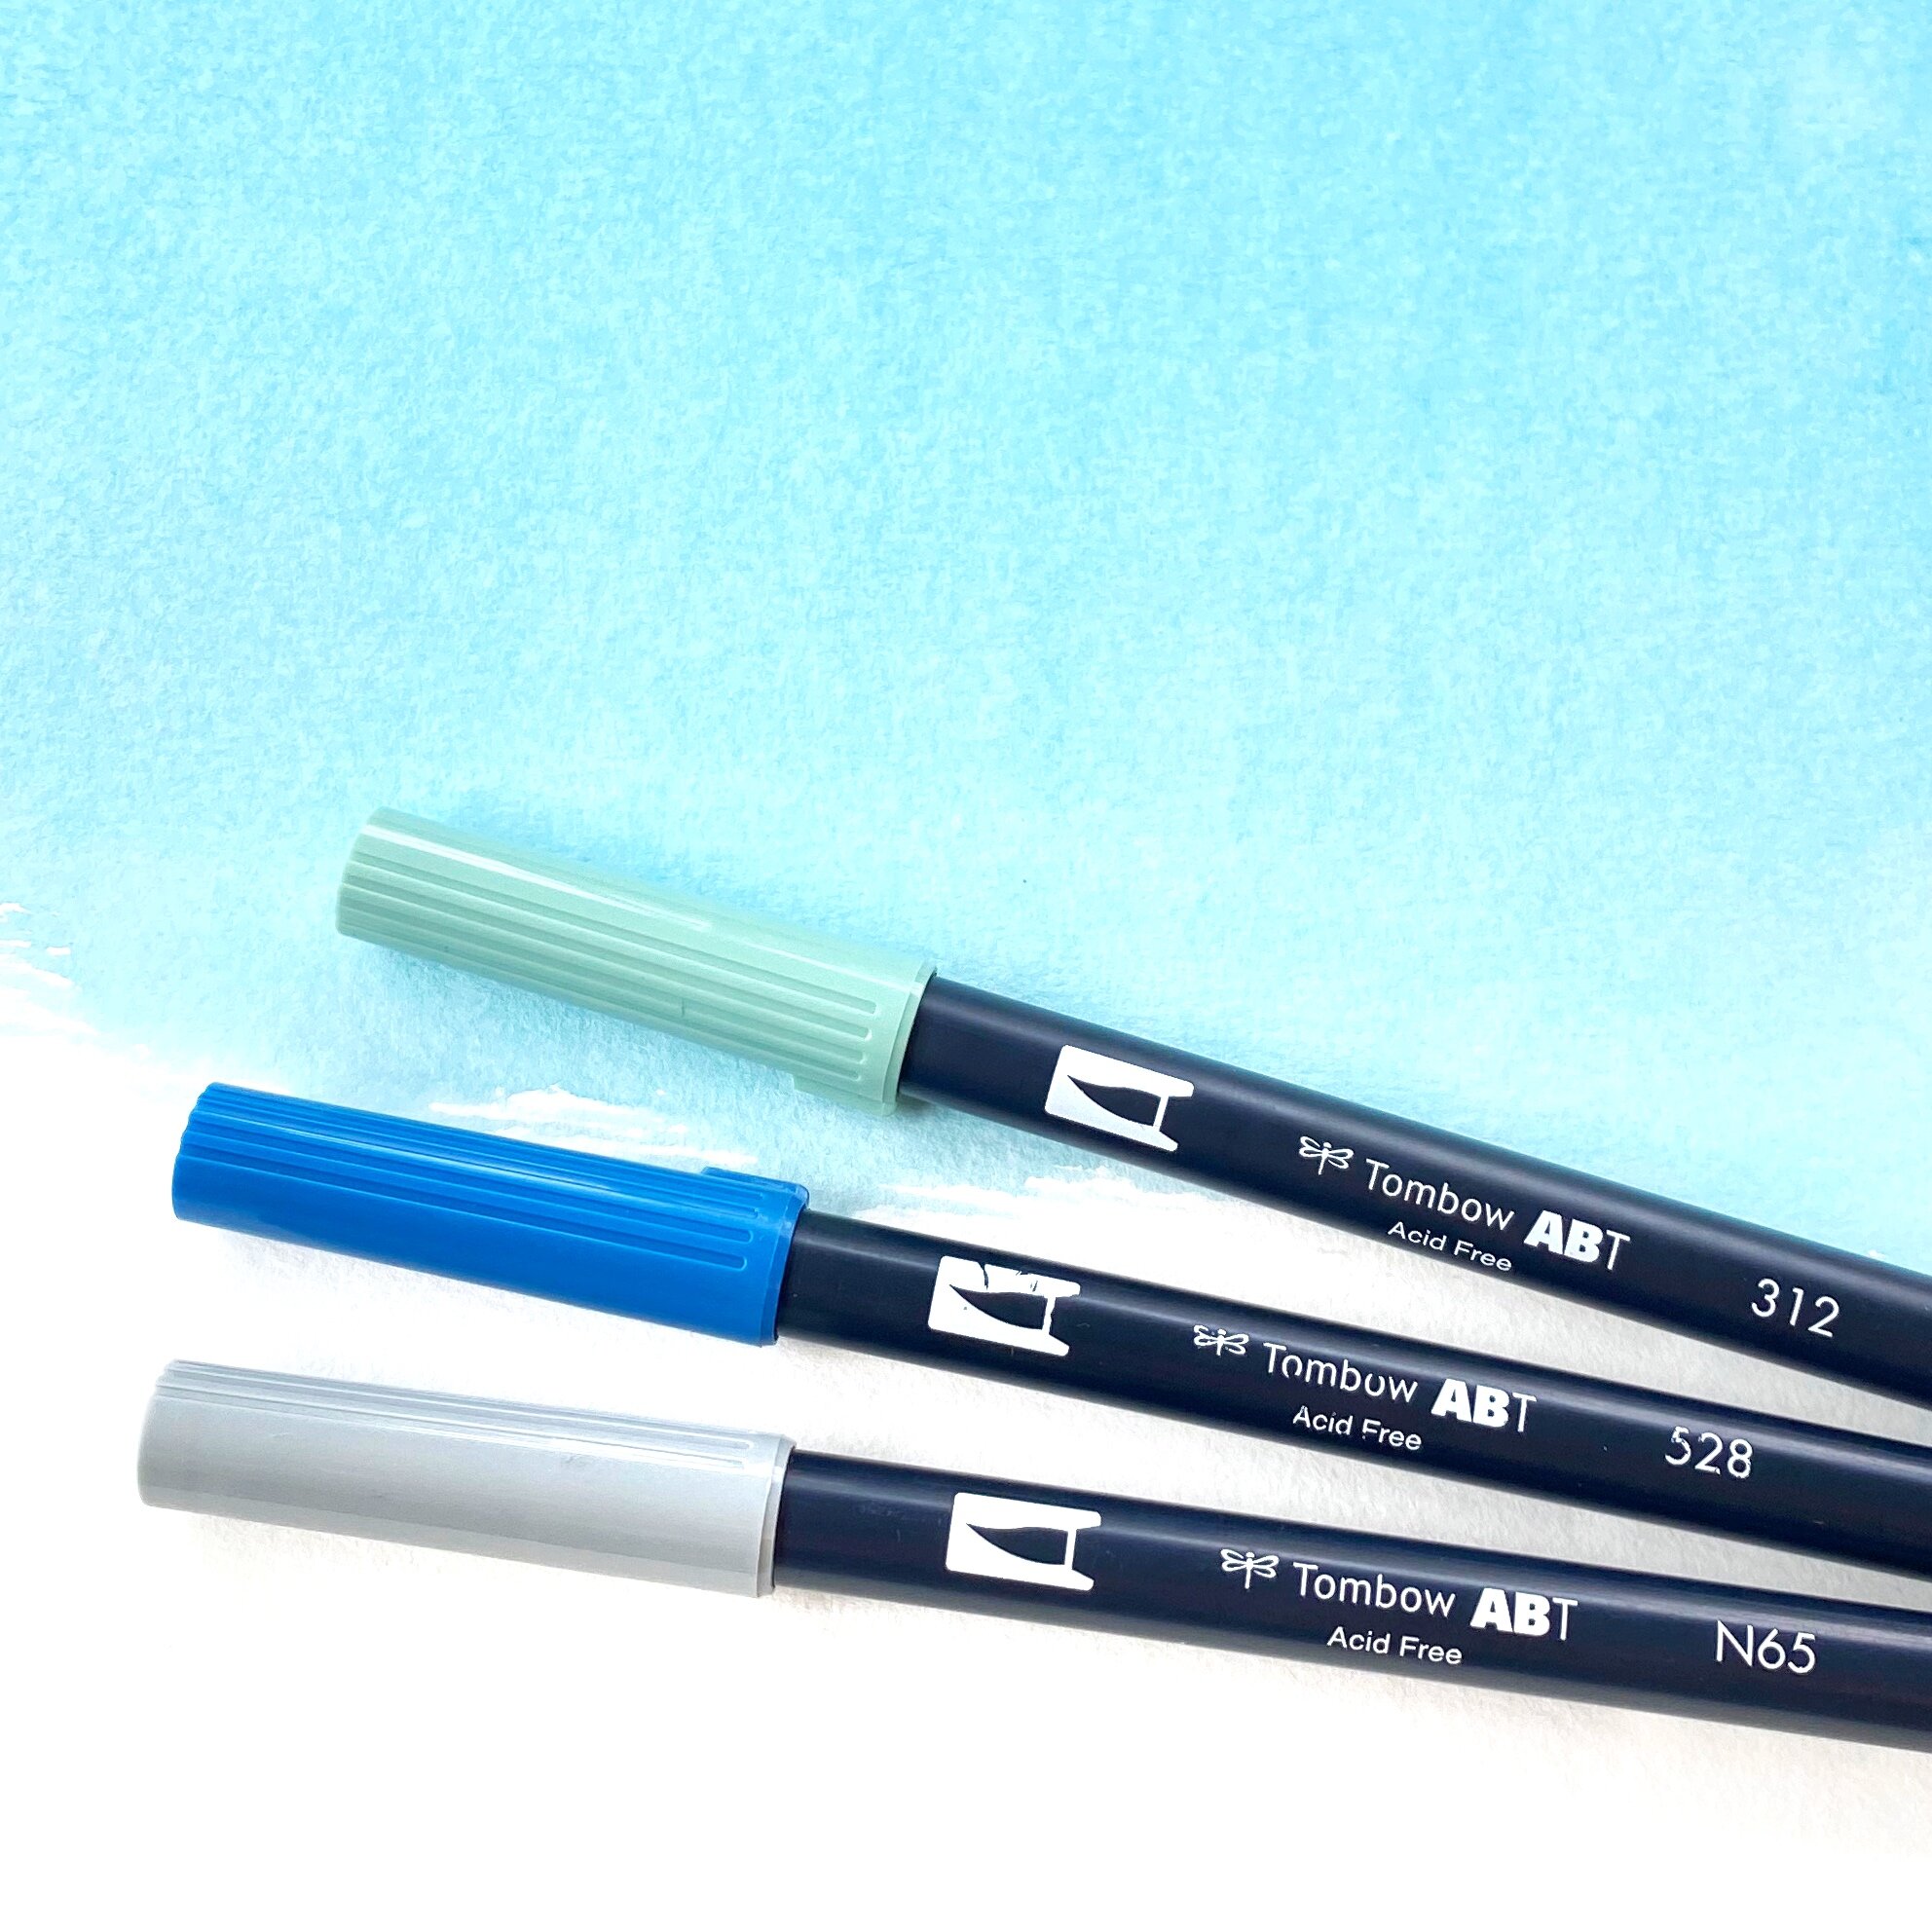
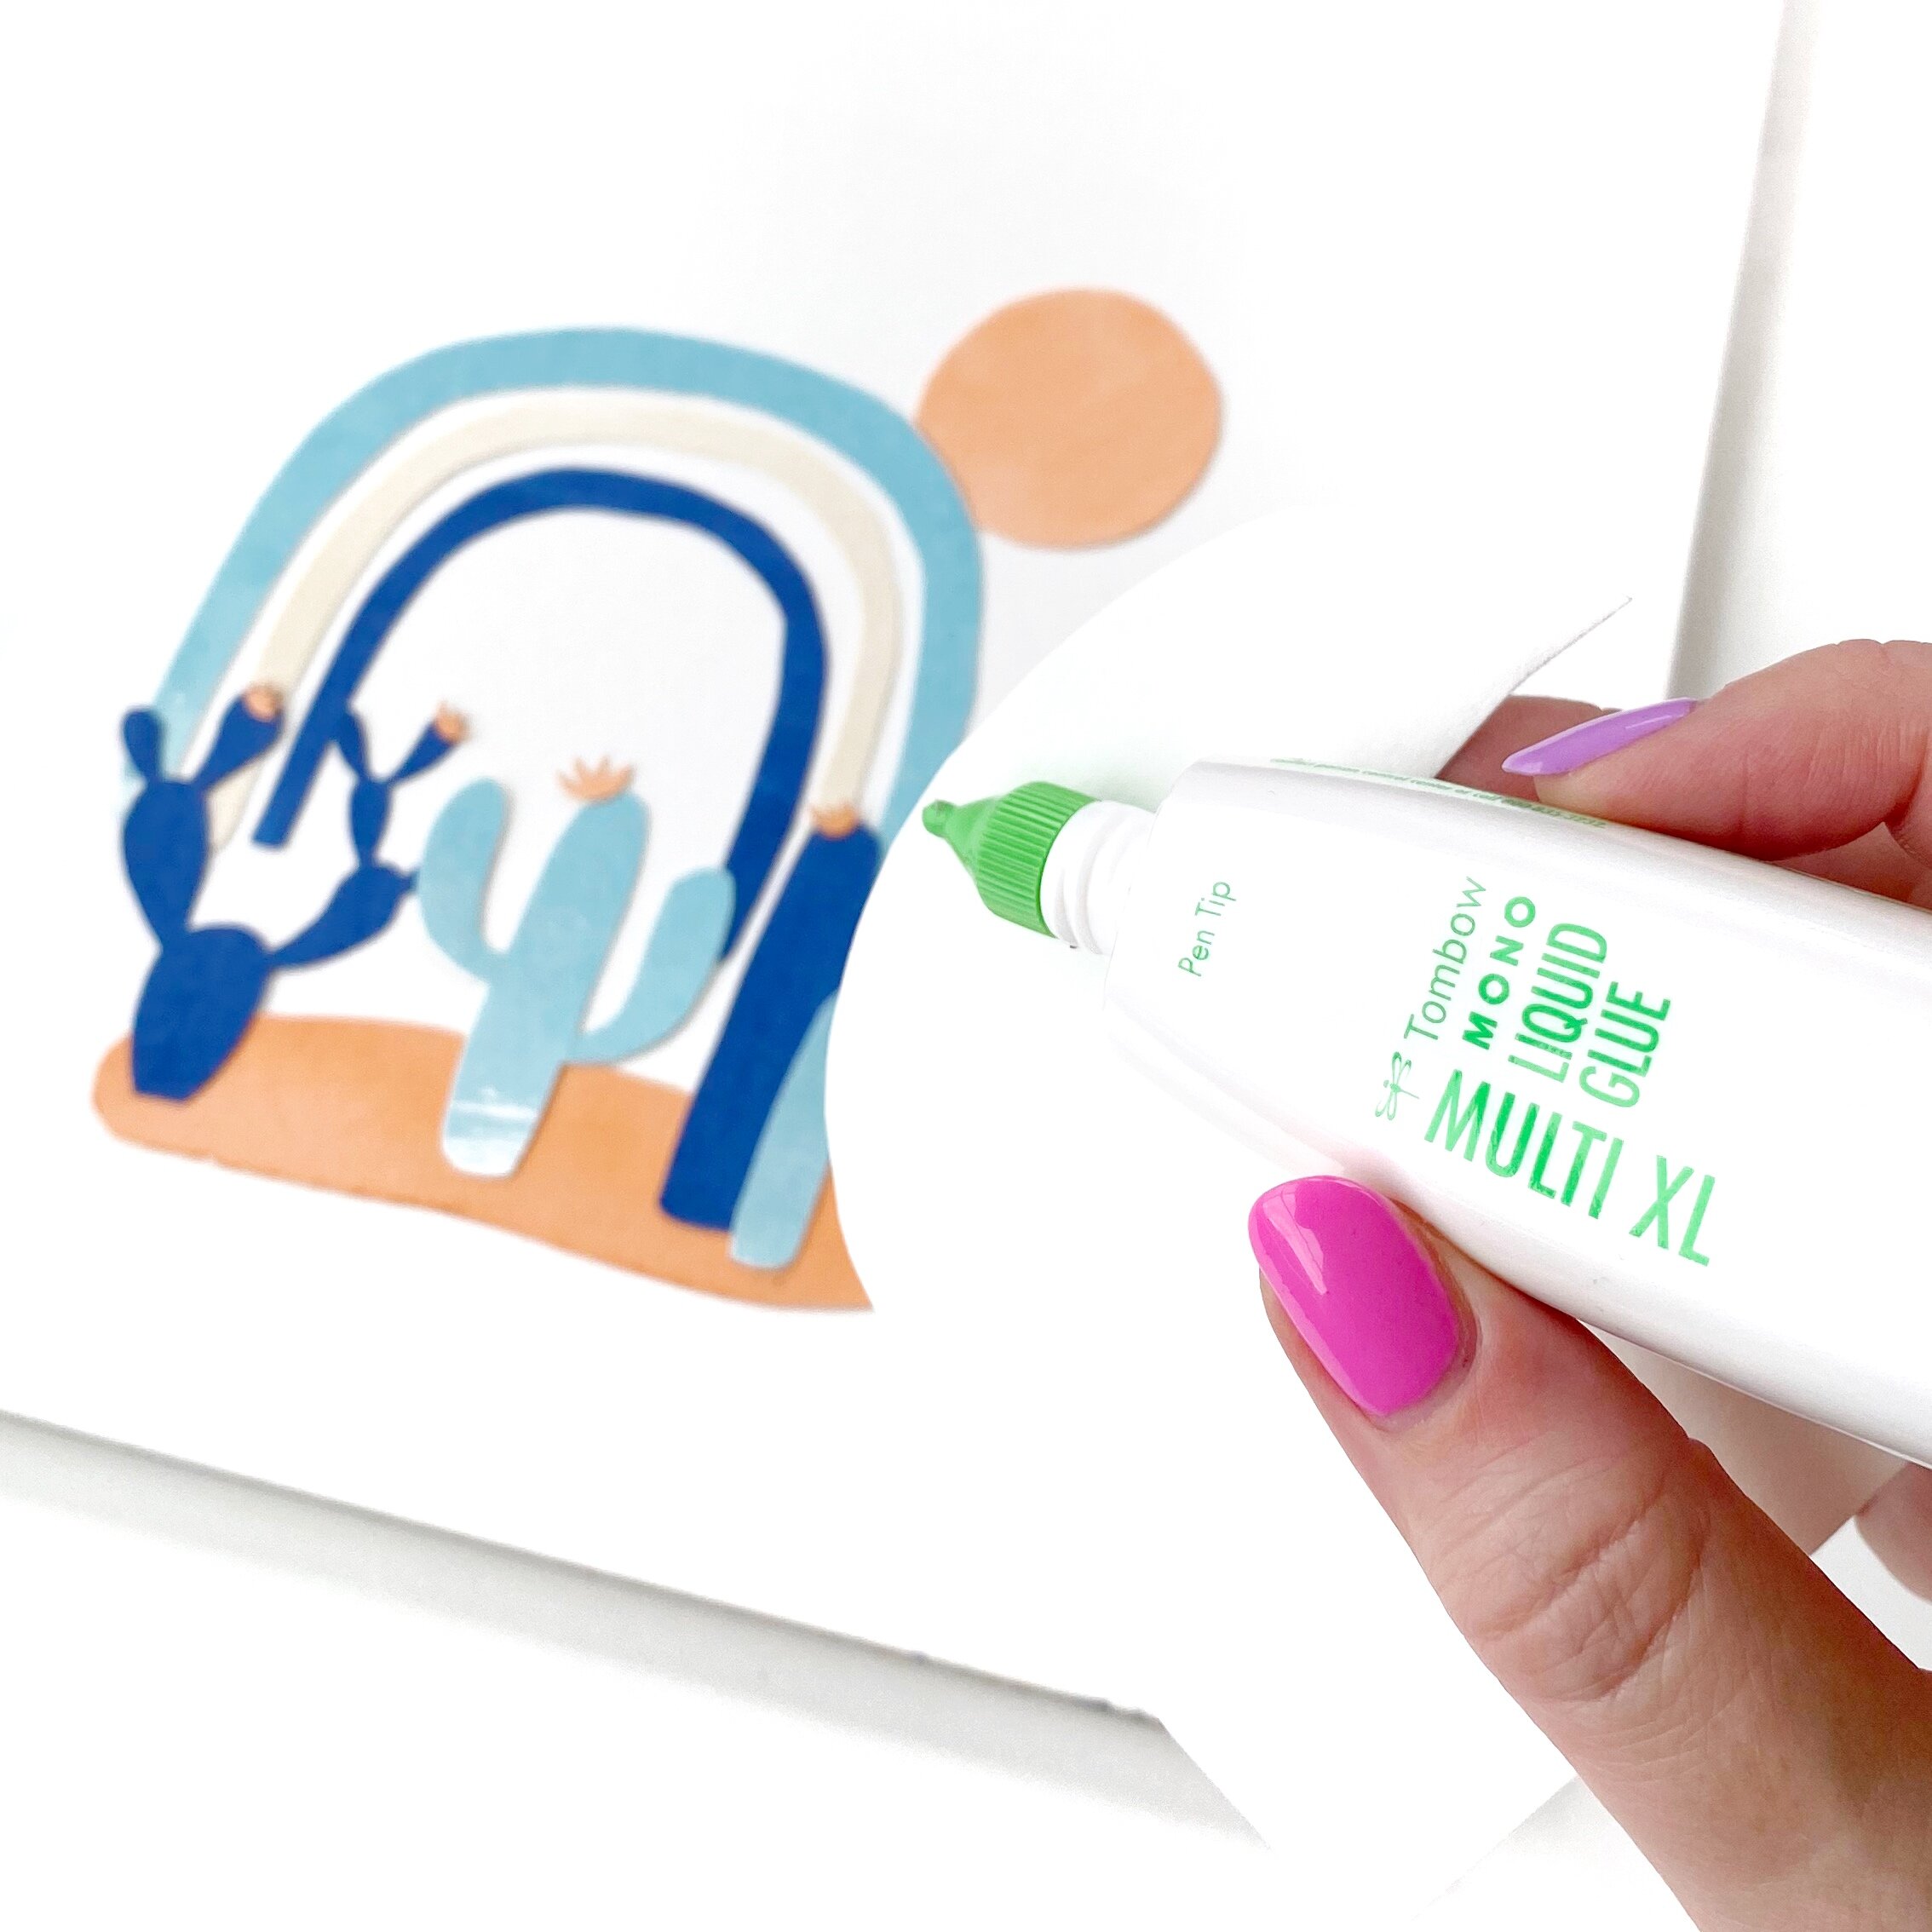
I’ve been dreaming of Palm Springs, and wondering if I’ll be able to get back there any time soon. I just love the architecture, blue skies, flora and fauna that I wanted to make my own collaged keepsake. If you’d like to make one of your own, here’s what you’ll need.
Supplies:
Step 1: Make Your Collage Papers
You can always use bought papers, or found papers from your trip, but I like to make mine in just the colors I want. My favorite way to do this is to scribble some Dual Brush Pen ink onto watercolor paper, then blend it all together using a wet paintbrush. That way you can mix colors and get exactly what you want, and also get a fun watercolor effect. Mix up a few in different shades.
Step 2: Cut Out Your Shapes
No need for drawing in this project, just loosely cut shapes that represent the objects you’re trying to depict. Sometimes it helps to squint at your reference image to see general shapes.
Step 3: Glue Everything Down
Once you’ve got all your shapes cut out, start sticking them onto a clean piece of paper or card using your MONO XL Multi Liquid Glue. This glue is strong but flexible, so even when it dries your thicker pieces of collage paper won’t fall off.
Here’s a little video of a collage keepsake coming together.
----------
Please note: This blog post contains affiliate links, which help pay for the upkeep of this site. That being said, I will never, ever promote anything I am not 100% in love with!


