Please note: This blog post contains affiliate links, which help pay for the upkeep of this site. That being said, I will never, ever promote anything I am not 100% in love with!
----------
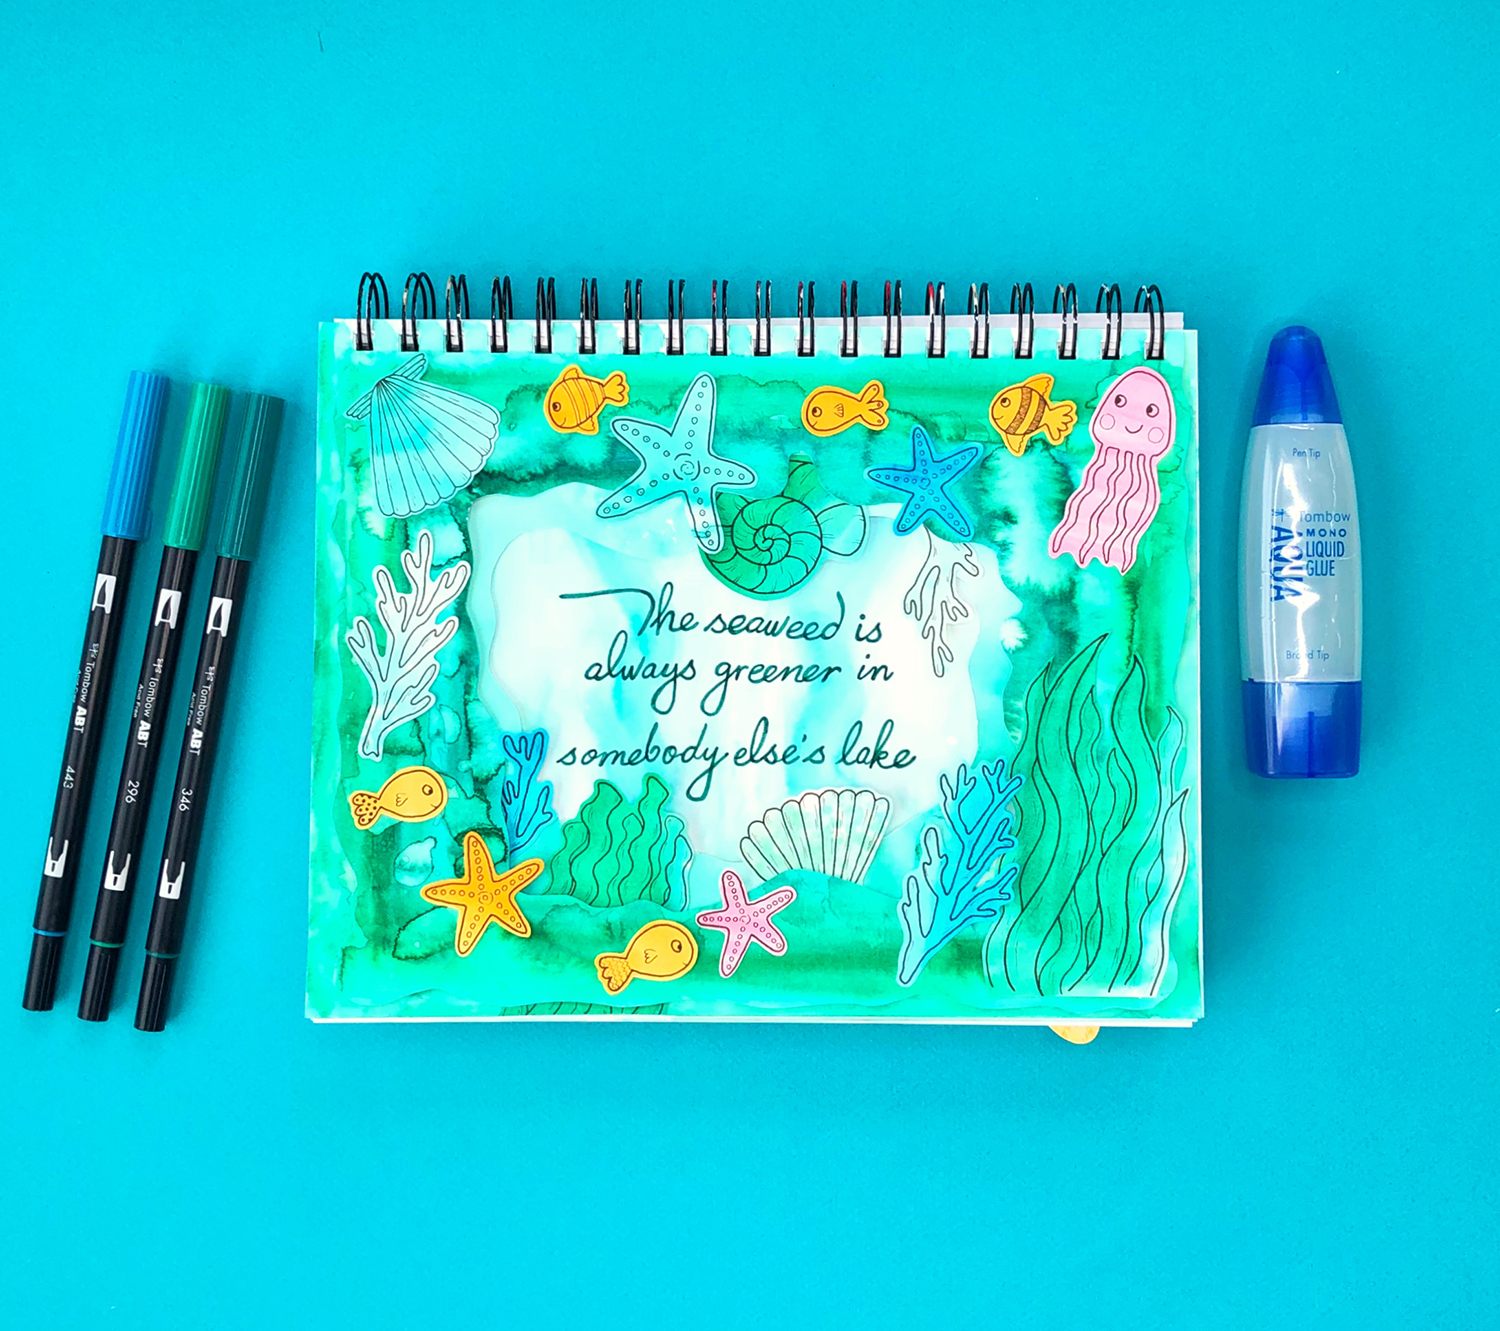
Hello hello, today I'm going to show you a fun way to do some art journaling with the new Tombow XL Blending Palette! The new extra large size means you can color an entire journal page with a watercolor effect quickly and easily, so we're going to turn three pages into one (because why not). Here's what you'll need to get started.
Supplies:
Your Art Journal (preferably one with thick pages to hold water without warping)
Scissors
Extra paper (preferably watercolor paper)
Tombow Mono Drawing Pencil (optional)
Step 1: Ink Your XL Blending Palette
Start by scribbling some ink onto the XL Blending Palette with your Dual Brush Pens. You can try a few different colors together, like blues and greens or oranges and pinks. Then lightly spritz some water over the inked palette. Once the ink is wet lay your art journal page face down onto it. Smush it around to make sure the ink covers the page, then carefully lift it off (it might get drippy so it pays to lay down some scrap paper underneath). Once that page dries, repeat on the next page, and the one after that.
Step 2: Cut Windows Into Your Pages
Who says you have to stick to just ONE page or spread when art journaling? We're going to cut windows through our first two pages to add some depth and dimension to our journal. Because I'm creating an underwater scene I cut my windows into wavy rectangles for a more organic look, but you can cut them out more neatly if you like. Keep your scraps for the next step!
Step 3: Make Your Decorations
I used scraps of paper I had already colored with Tombow Dual Brush Pens, but you could create some on your spare watercolor paper using the same method as the journal pages above. Then draw on your shapes, patterns or whatever else you'd like with your Mono Drawing Pens.
Step 4: Cut Out Your Decorations
Get out your scissors and start cutting out those fun little decorations you just created, then use your Mono Aqua Liquid Glue to stick them to the three different layers of your journal page(s).
Step 5: Add Some Text
The final step is to add some words to your art journaling. Maybe you want to write something that happened that day, a memory, or a favorite quote.
I'd would love to see your art journaling adventures! Tag @BrownPaperBunny on social media!


